How to Hold the Cube and Keep It Oriented
Learn how to hold a Rubik's Cube correctly and maintain orientation while solving. Master the grip and cube rotations that prevent beginner mistakes.
Holding the cube correctly and keeping it pointed the right direction are two of the smallest habits a beginner can build, and two of the most impactful. Good grip lets your fingers fly through algorithms without fumbling, and solid orientation habits mean you never lose your place mid-solve.
How to Hold the Cube
The goal is simple: keep the cube stable while leaving your fingers free to move the pieces.
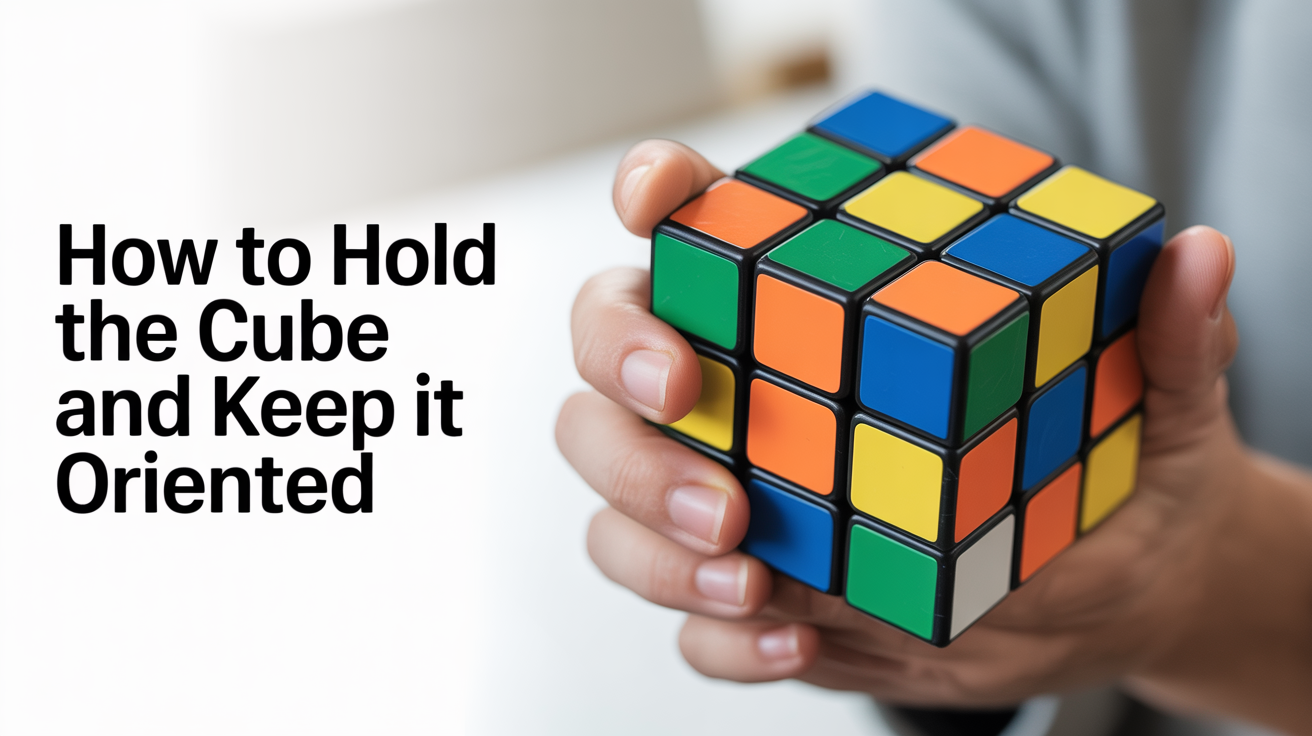
The Basic Cradle Grip
Rest the cube in both hands so the bottom layer sits across your fingers and against your palms. Your thumbs face you on the front face (F), your index and middle fingers wrap around the sides, and your ring and pinky fingers support the back. This cradle position gives you instant access to the U (top), R (right), and L (left) faces without shifting your grip, the three faces that appear most often in beginner algorithms.
The D (bottom) layer should feel supported, not gripped. If you are squeezing the cube, loosen up. A tight grip makes it harder to turn individual layers cleanly because your hands resist the movement you are trying to make.
Finger Placement for Turning
When you need to turn the U face, your thumbs and upper fingers do the work. For an R move, your right thumb pushes or your right fingers pull. For an L move, your left hand mirrors that motion. The key idea is that only the fingers near the face being moved should engage, the rest of your hand stays quiet, keeping the cube steady.
Beginners often rotate their whole hand to make a move when a small finger flick would do it. Practice each move in isolation: R, U, L, D, F, B. If a move feels awkward, check that the right fingers are doing it, not your wrist. Understanding the notation behind these moves is covered in detail at Rubik's Cube notation explained.
How Much Regripping Is Normal?
Some regripping is unavoidable, especially as a beginner. The goal is to minimize it, not eliminate it. When you stop to readjust your grip after every move, you break rhythm and lose time. As you get comfortable with individual moves, try to string two or three together without lifting your hands off the cube at all. Speed will come from fluency, not from rushing individual turns.
What "Cube Orientation" Actually Means
Cube orientation refers to which face is pointing in which direction as you solve. Get this wrong, and algorithms that were supposed to work simply will not, because the algorithm assumes a specific relationship between your hands and the cube faces.
Setting a Fixed Orientation for Each Step
For most beginner methods, the rule is simple:
- First layers (cross and first-layer corners): hold the cube with white on the bottom, yellow on top.
- Second layer (middle edges): keep that same orientation, white on bottom, yellow on top.
- Last layer (everything on the yellow face): flip the cube so yellow is on top, then keep it there until the step is done.
The reason this matters is that algorithms are written assuming a specific orientation. If white drifts to the side mid-solve, the algorithm you memorized will scramble your work instead of fixing it.
Picking a Consistent "Front"
Beyond which color is on top, you also need a consistent front face. The front face is just whichever face points toward you. Beginners often spin the cube to look at different sides, which is fine between steps, but during an algorithm, the front face must not change.
Before you start an algorithm, pick a sticker or a piece and treat it as your reference point. Keeping one eye on that reference while you execute moves tells you immediately if the cube has drifted.
Cube Rotations: When to Use Them (and When Not To)
A cube rotation is when you turn the entire cube as one unit, no individual layer moves, just reorienting the whole thing in your hands. There are three:
x, rotate the whole cube the same direction as an R move (right side goes up)y, rotate the whole cube the same direction as a U move (front face goes left)z, rotate the whole cube the same direction as an F move (top goes right)
These are legitimate, useful moves. An algorithm might call for an x rotation to set up a better hand position, for example. The problem arises when you rotate the cube without meaning to.
Accidental Rotation Is the Most Common Beginner Mistake
Here is what typically happens: you are three moves into a seven-move algorithm, you glance at the cube to check a piece, and your hands unconsciously twist the cube slightly to get a better view. Now the front face has changed. The next move you make follows your new (wrong) orientation, and the algorithm falls apart. You finish it, look at the cube, and nothing is where it should be.
The fix is deliberate rotation. If an algorithm requires an x rotation, it will say so explicitly. If it does not say to rotate, you do not rotate. Period. Learning what these moves look like in written form is part of reading algorithms fluently, a skill broken down in how to read a Rubik's Cube algorithm.
Resetting Between Steps
Rotating the cube deliberately between steps is completely fine. After you finish the cross, for instance, you might want to look at the bottom to assess your work. Go ahead, flip the cube, rotate it, look at it from every angle. Then, before you start the next step, return to your standard orientation (white on bottom, yellow on top) and confirm your front face. This reset habit takes two seconds and saves a lot of confusion.
Practical Tips for Building Good Habits
A few things that help the grip and orientation click faster:
- Practice one algorithm slowly with eyes closed. Forces your fingers to learn the motion rather than your eyes guiding every move.
- Say the moves aloud while you practice. Hearing
R U R' U'while doing it builds the muscle memory faster than silent repetition. - Mark your front face with a small piece of tape during early practice sessions, then wean off it once the habit is set.
- Do a "sanity check" before each algorithm: confirm which color is on top, which face is front, and where the piece you are targeting actually sits.
- Slow down when you feel confused. Speed is the enemy of orientation awareness at the beginner stage. Better to complete an algorithm correctly at half speed than to blast through it and arrive somewhere wrong.
Understanding the prime symbol, the little apostrophe in moves like R', is directly related to orientation, because a prime move is just a counterclockwise version of the regular move. If your front face has shifted, you will execute the prime in the wrong direction. That piece of notation is explained clearly at what does the prime symbol mean in cube notation.
FAQ
Why does my algorithm not work even though I did all the moves right?
Almost always, the cube drifted orientation mid-algorithm. Even a partial rotation, tilting the top toward you slightly, changes which face is which. Go back to the start of the algorithm, set your orientation deliberately (check top color, check front face), and run it again slowly.
Is there a "correct" way to hold the cube, or does it vary?
There is a range of grips that work, and experienced solvers develop personal preferences. For beginners, the two-hand cradle described above is the most reliable starting point because it keeps all the main faces accessible. Once you can solve consistently, experiment with what feels natural.
How do I know which direction x, y, or z rotates the cube?
Think of each rotation as borrowing the direction from a layer move. x matches R (right side goes up, left side comes down). y matches U (front goes left, back comes right). z matches F (top goes right, bottom comes left). If you can do a single R move, you already know what an x rotation looks like, just apply it to the whole cube.
Do I need to memorize x, y, and z right away?
Not immediately. Learn them when you first encounter them in a written algorithm. Many beginner methods use very few whole-cube rotations, so you will pick them up naturally as you progress through the solve layers.
Why do some guides say "keep white on top" and others say "keep white on bottom"?
Different solving methods use different conventions. The most common beginner approach (layer-by-layer, starting with a cross) puts white on the bottom from the second step onward, so the yellow last layer ends up on top. Some tutorials start with white on top and flip at the end. Neither is wrong, what matters is picking one and sticking with it so your orientation stays consistent throughout.