How to Solve a Rubik's Cube: A Beginner's Guide
Learn how to solve a Rubik's Cube step by step using the beginner layer-by-layer method. Most people get their first solve within a few days.
Solving a Rubik's Cube is not about luck, raw intelligence, or photographic memory. It is a learnable method, a set of repeatable steps that anyone can follow, practice, and eventually do from memory. Most beginners complete their first full solve somewhere between a few hours and a few days of practice. Here is the complete beginner's path.
What You Need to Know Before You Start
Before touching a single move, two concepts will save you a lot of confusion.
The pieces and what they do
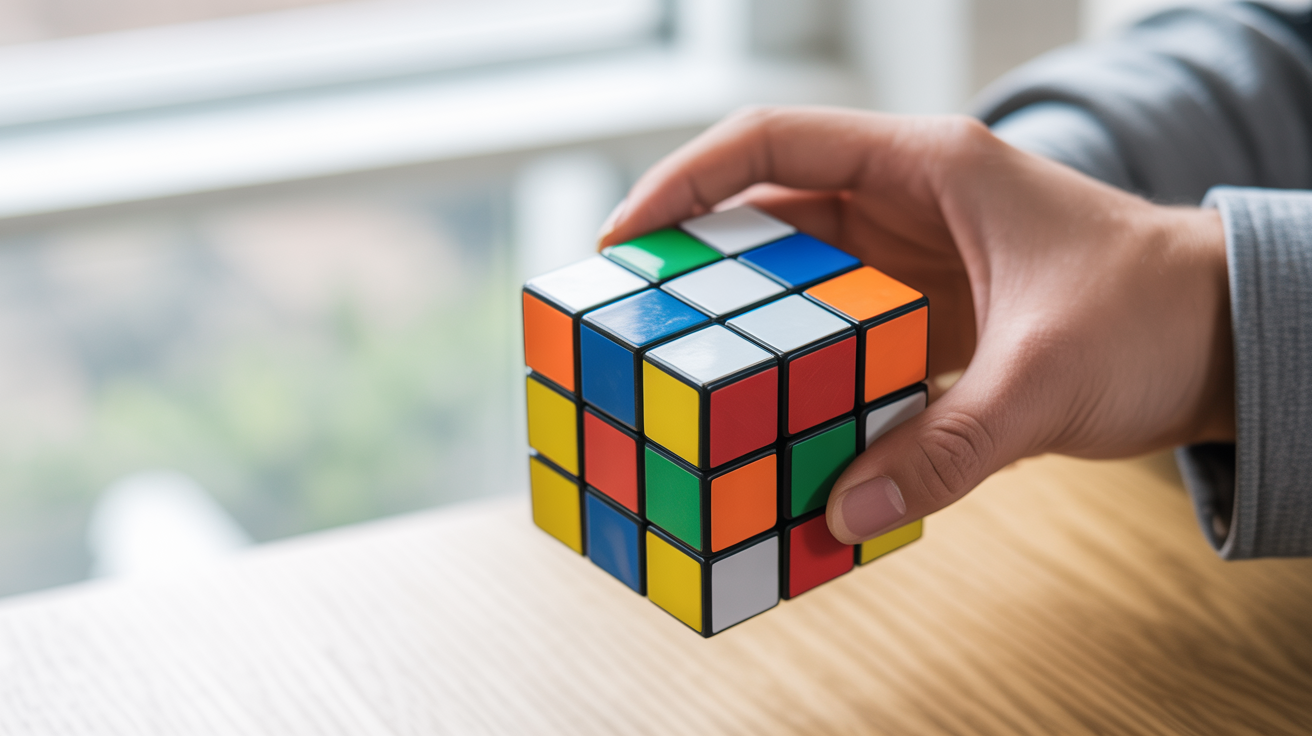
A standard 3x3 cube has three types of pieces. Centers sit in the middle of each face (there are six, one per color) and they never move relative to each other. They define what color each face should be. Edges have two colored stickers and sit between two centers. Corners have three colored stickers and sit at the intersections.
For a much deeper look at how those pieces fit together mechanically, see how a Rubik's Cube works.
Notation: how moves are written
Every algorithm in speedcubing is written in a compact shorthand. The six face letters are R (Right), L (Left), U (Up), D (Down), F (Front), and B (Back). Each letter alone means a 90-degree clockwise turn of that face. A prime symbol after the letter, like R', means counter-clockwise. A 2 means a 180-degree turn, the same as turning that face twice.
So R U R' U' means: turn the right face clockwise, the top face clockwise, the right face counter-clockwise, the top face counter-clockwise. That four-move sequence is one of the most used patterns in the whole beginner method.
The Layer-by-Layer Method: An Overview
The beginner approach solves the cube one layer at a time, working from the bottom up. Here are the six stages:
- White cross: form a plus sign on the white face, with each edge piece matching the center color beside it
- White corners: slot in the four corner pieces to complete the entire first layer
- Middle-layer edges: place the four edge pieces that belong in the middle layer (none of them have yellow)
- Yellow cross: arrange the top-face stickers so they form a yellow plus sign (corners can be wrong for now)
- Orient the last layer: flip and twist until the entire yellow face is solid yellow
- Permute the last layer: move corners and edges to their correct final positions to finish the cube
Each stage uses a small set of algorithms. You do not need to memorize them all at once. Learn one stage, practice until it feels automatic, then move to the next.
Stage 1 and 2: The First Layer
Building the white cross
Hold the cube with white on the bottom. Find the white-blue edge piece (white on one side, blue on the other). Your goal is to place it between the white center and the blue center with both colors matching.
There is no single algorithm for this stage; it is mostly intuitive. Most beginners figure it out by experimenting. The mental trick is to look at where each white edge piece currently lives and think about what turns would bring it home without disturbing pieces already placed. This stage takes the longest to learn intuitively, but once it clicks, it becomes fast.
Completing the first layer with corners
Once the white cross is done, find any white corner piece. It belongs in the slot where its three colors match the three faces around it.
If the white corner is sitting in the bottom layer but in the wrong slot, move it up first with R U R' (with that corner on the front-right). Then use the standard insert:
R U R' U'
Repeat that sequence, sometimes up to five times, until the corner drops into place. It sounds like a lot, but the repetition is predictable. When all four corners are in, the entire bottom layer is solid white.
Stage 3: The Middle Layer
Now you need to fill in the four middle edges, the ones with no yellow on them. Identify an edge on the top layer that belongs in the middle. It will have two colors, neither of which is yellow.
Line up the matching color on top with its center, then use one of these two algorithms depending on whether the piece needs to go left or right.
To insert to the right:
U R U' R' U' F' U F
To insert to the left:
U' L' U L U F U' F'
If a middle edge is already in the middle layer but flipped or in the wrong slot, use either algorithm to pop it out first, then reinsert it correctly.
Stage 4 and 5: The Top Layer
Making the yellow cross
Look at the top face. You will see one of four patterns: a dot (no yellow edges facing up), an L-shape (two adjacent yellow edges), a line (two opposite yellow edges), or a complete cross. Use this algorithm to cycle through patterns until you have the cross:
F R U R' U' F'
Apply it once, check the shape, and repeat if needed. You will always reach the cross within three applications.
Orienting the yellow corners
Now the cross is in place, but the corners may still have yellow stickers on the side faces instead of pointing up. Hold any corner with yellow on the side (not the top) at the front-right position. Apply:
R U R' U R U2 R'
After running it, check the front-right corner. If yellow is not on top yet, run it again without rotating the whole cube. Once that corner is correct, rotate only the top layer (just U or U') to bring an unfinished corner to the front-right. Keep going until the full yellow face is complete. The rest of the cube will look scrambled underneath — that is completely normal and expected at this point.
Stage 6: Permuting the Last Layer
The yellow face is solid. Now you need to move the last-layer pieces to their correct positions without disturbing the yellow face.
Positioning the corners
Look at the corners. Find two corners on the same side of the cube that look like they might already be in the right positions (check by holding the cube so those two corners are in the back). Apply this algorithm:
R U R' U' R' F R2 U' R' U' R U R' F'
Check again. You may need one or two more applications before all four corners land correctly.
Cycling the edges
The last step. Three or four of the top edges are probably in the wrong positions. Use this algorithm to cycle three edges counter-clockwise (the front edge stays put):
R2 U R U R' U' R' U' R' U R'
Or to cycle them clockwise:
R U' R U R U R U' R' U' R2
Apply one version, check the result, and switch if needed. Once all four edges are in their correct positions, your cube is solved.
Common Mistakes and How to Avoid Them
Rotating the whole cube mid-solve. Beginners often spin the cube in their hands to see all the pieces, which makes it hard to track orientation. Try to solve with the white face always pointing down, only rotating individual layers.
Skipping notation practice. Running an algorithm without understanding each move is fine at first, but knowing what R' and U2 mean lets you self-correct when you lose your place.
Expecting instant results. One scramble-and-solve attempt is not enough to build muscle memory. Ten to twenty solves is where things start to feel less chaotic.
Using a stiff cube. A cube that does not turn smoothly makes learning harder than it needs to be. If you are curious about how different cubes compare, speed cubes vs original Rubik's Cubes is worth reading once you have your first solve under your belt.
FAQ
How long does it take to learn to solve a Rubik's Cube?
Most people get their first complete solve within a few hours to a few days, depending on how much time they spend practicing. Getting comfortable enough to solve without looking up algorithms usually takes one to two weeks of regular sessions. If you want a clear picture of the realistic learning curve, is the Rubik's Cube hard to learn covers what to expect in more detail.
Do I need to memorize every algorithm before I start?
No. Learn one stage at a time. Start with the white cross (no algorithm needed), then the corner insert, then the middle edge inserts. Get comfortable with each before moving on. The last-layer algorithms come later and feel much less intimidating once the first two layers are routine.
What if my cube seems impossible to solve?
If you have been working at it for a while and keep hitting dead ends, check whether someone has swapped stickers or physically moved pieces. A cube that has had a corner popped out and reinserted incorrectly is mathematically unsolvable by normal moves. You can spot this when only a single edge or corner appears wrong with everything else correct.
Is the layer-by-layer method the fastest way to solve?
No, but it is the best starting point. Speedsolvers use more advanced methods like CFOP (also called Fridrich), Roux, or ZZ. Those methods can achieve solves under 10 seconds, but they require memorizing dozens of algorithms. Layer-by-layer is the foundation, and many competitive solvers learned it first before switching to a faster method.
Can I solve a Rubik's Cube without algorithms at all?
Technically, you can solve the first layer and sometimes the middle layer through intuition alone. The last layer is where algorithms become almost necessary, because the moves required to orient and permute those pieces without disturbing the rest of the cube are not at all obvious. For a complete beginner solve, plan on learning at least four to five short algorithms.