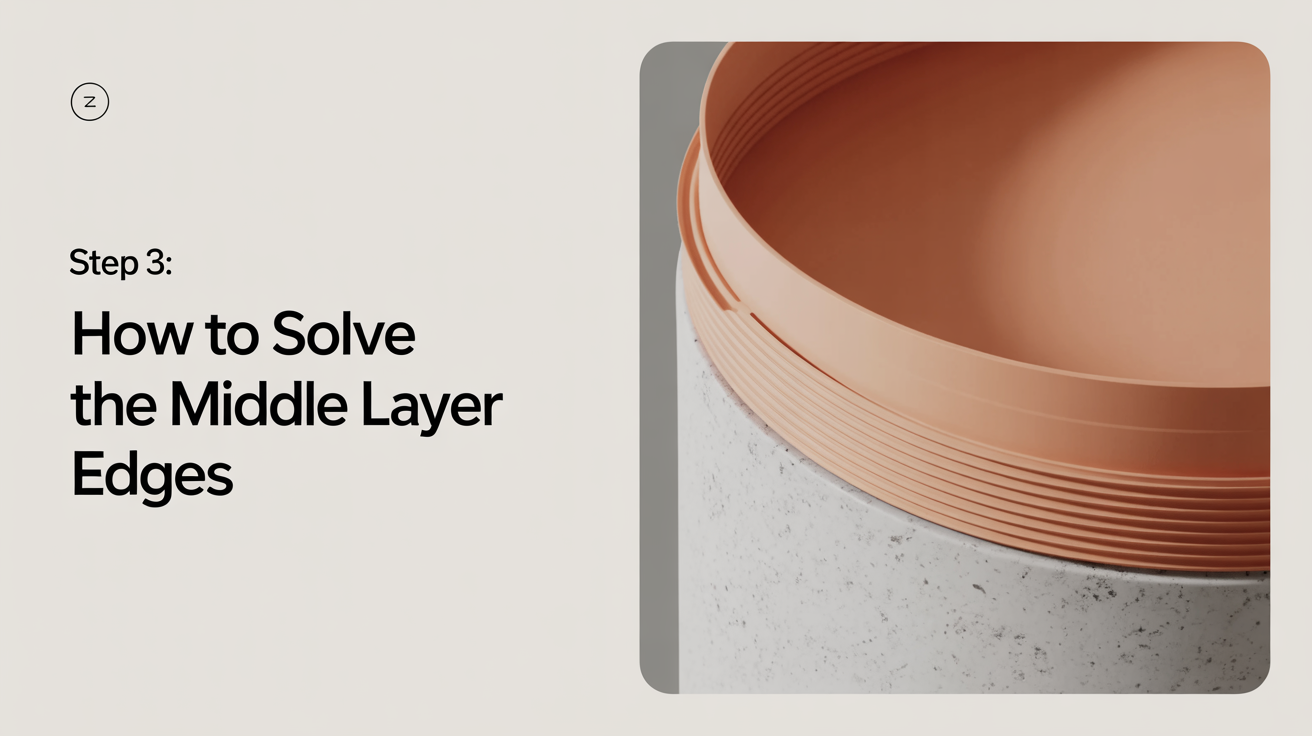
Step 3: How to Solve the Middle Layer Edges
Learn how to solve the middle layer of your Rubik's Cube using two simple algorithms. Complete step 3 of the beginner method and finish the first two layers.
You've built the white cross, locked in the corners, and the bottom layer is sitting solid. Now comes step 3 of the beginner method: placing the four middle-layer edges. This step uses two short algorithms and a bit of pattern recognition. Once you get the logic down, it clicks fast.
What the Middle Layer Step Actually Does
The middle layer sits between the white bottom and the yellow top. It holds four edge pieces, one between each pair of adjacent side centers. Those edges have two colors each -- neither of them is yellow. Your job is to move all four into their correct slots with the colors facing the right way.
After this step, the entire bottom two layers will be complete. Only the yellow top layer remains, and that becomes steps 4 through 7. For a quick overview of where this fits in the overall process, see the layer-by-layer method guide.
What to Look For
Hold the cube with white on the bottom throughout this entire step. The yellow face faces up. You're looking for edge pieces in the top layer that have no yellow sticker -- they belong in the middle, not the top.
Each target edge has two colors. One of those colors will match a side center. When you rotate the top layer so that matching color aligns with its center, you get what speedcubers call an upside-down T: the center, the edge above it, and the two center squares to the sides form a T shape pointing down.
At that point, the edge needs to go either left or right into its slot. That decision comes from the second color on the edge.
How to Read Which Algorithm to Use
Once you've lined up the upside-down T on the front face, look at the top sticker of the edge piece. That sticker's color tells you where the edge is headed.
- If the top sticker matches the right side center, the edge goes into the front-right slot. Use the right-insert algorithm.
- If the top sticker matches the left side center, the edge goes into the front-left slot. Use the left-insert algorithm.
That's the whole decision. Two cases, two algorithms.
The Right-Insert Algorithm
Use this when the edge needs to go into the front-right slot.
U R U' R' U' F' U F
After running this, the edge drops into place between the front and right faces.
The Left-Insert Algorithm
Use this when the edge needs to go into the front-left slot.
U' L' U L U F U' F'
After running this, the edge drops into place between the front and left faces.
Notice the symmetry: the right-insert starts with U, the left-insert starts with U'. The rest mirrors accordingly. Learning one helps you remember the other.
Step-by-Step Process for Solving All Four Edges
Here's how to work through the full middle layer from start to finish.
- Hold the cube with white on the bottom and yellow on top. Keep this orientation for the entire step.
- Scan the top layer for a non-yellow edge. Any edge in the top layer that has no yellow sticker is a middle-layer piece that needs placing.
- Rotate the top layer (U moves only) until one color of that edge matches a side center. This forms the upside-down T on the front face.
- Check the top sticker of the edge. Does it match the right center or the left center?
- Run the correct algorithm -- right-insert (
U R U' R' U' F' U F) for the right slot, left-insert (U' L' U L U F U' F') for the left slot. - Check the slot. The edge should now be correctly placed with both colors matching their centers.
- Rotate the whole cube to bring a new front face into view and repeat for the next edge.
- Repeat until all four middle edges are placed.
What If No Non-Yellow Edge Is Visible in the Top Layer?
Sometimes all the middle slots look occupied, but one or more edges are in the wrong position or facing the wrong way. The fix is straightforward: pick any wrong edge and run either algorithm (right-insert or left-insert, doesn't matter which) to kick it out of its slot and up into the top layer. Now you have a non-yellow piece to work with. Line it up properly and re-insert it correctly.
This situation comes up more often than you'd expect, especially earlier in the learning curve. Don't stress about it -- one deliberate kick-out solves the problem every time.
Common Mistakes at This Stage
Forgetting to form the upside-down T first. Running the algorithm without lining up the front color with its center will put the edge in the wrong slot. Always align before you insert.
Moving the bottom layer mid-step. Every move in these two algorithms affects the top and side layers. The white bottom stays untouched as long as you only use U, R, L, F moves in the correct sequence. If you start adding D moves or random turns to fix something, you'll disrupt the bottom layer.
Losing track of which slot is which. After you run an algorithm, the top layer gets rearranged. Before looking for the next edge, take a breath and recheck which pieces are already solved. It's easy to accidentally re-insert a piece you already placed if you're moving too fast.
Flipping the cube to the wrong face before inserting. The algorithms are written assuming the edge's matching color is on the front face. If you run right-insert but the matching color is actually on the right face (not the front), the piece won't land correctly. Always double-check the T before executing.
Practicing the Algorithms Until They Feel Natural
Both algorithms are eight moves long. That might sound like a lot at first, but each one has a rhythm you can feel after a few repetitions. The right-insert has a particular flow: move up, tuck the right, pull back, and mirror the whole thing on the front. The left-insert is a reflection of the same logic on the other side.
A good practice drill: set up a cube with one middle edge placed incorrectly (or just pull a correct edge out using one algorithm), then run the other algorithm to re-insert it. Go back and forth ten or fifteen times. You're not trying to memorize the notation letter by letter -- you're trying to wire in the finger movements so you stop having to think.
Most beginners get comfortable with these two algorithms within a single practice session. By your fifth or sixth full solve, you'll probably run them without consciously thinking about which move comes next.
Tracking Your Progress Through the Layer
It helps to solve the middle layer methodically. After inserting the first edge, rotate the whole cube (not just the top) so a new front face is in view. Find the next non-yellow edge in the top, align it, and insert. Doing it this way -- one face at a time, rotating the whole cube between insertions -- keeps you oriented and makes it easier to spot which slots are still empty.
Some people prefer to insert whichever edge is most convenient each time. That works too. The only thing that matters is that you finish with all four middle edges correctly placed.
What Comes After This Step
When all four middle-layer edges are in place, the bottom two layers are done. You'll see a complete band of color running around the sides of the cube, and the white face underneath will be solid. The only remaining work is the yellow top layer.
From here, the beginner method moves into orienting and permuting the yellow pieces. It adds a few more algorithms, but the puzzle is essentially half-solved at this point -- which is a satisfying place to be.
If you want to review how you got here, check out step 1 (the white cross) and step 2 (the first layer corners). The pattern-recognition skills from those steps carry directly into middle-layer work.
FAQ
How do I know if a middle-layer edge is placed correctly?
Both stickers on the edge should match the center of their respective face. If you look at the front face and the right face, the edge between them should show the same color as each center. If either sticker is off, the piece needs to come out and go back in.
Can I accidentally mess up the bottom layer while solving the middle layer?
Yes, but only if you use moves outside the two algorithms. The right-insert and left-insert algorithms are specifically designed to leave the bottom layer untouched. Stick to the algorithms and the white layer stays safe.
What if an edge piece is in the top layer but has yellow on it?
That's a top-layer piece, not a middle-layer piece. Leave it alone for now. You only want non-yellow edges from the top layer during this step. Yellow edges get handled in the later steps when you solve the last layer.
Do I need to solve the middle edges in a specific order?
No. You can insert them in any order. Most people work around the cube systematically (front-right, then front-left after rotating, etc.), but the algorithms don't care which edge you tackle first.
My edge keeps going into the wrong slot even after I align the T. What's happening?
Double-check that the matching color is on the front face, not on the top face. The upside-down T means the side sticker of the edge (the one facing you) matches the front center, and the top sticker tells you which direction (left or right) the edge travels. If you have those two things backward, the piece will land in the wrong place every time.